Exploring the world of IoT devices and remote SSH capabilities has never been more exciting, especially when it comes to leveraging a Raspberry Pi for free. Whether you're a hobbyist or a professional developer, understanding the best IoT devices for remote SSH can significantly enhance your projects. In this comprehensive guide, we'll delve into everything you need to know about setting up and managing remote SSH on a Raspberry Pi, ensuring you get the most out of your IoT experience.
Remote SSH on a Raspberry Pi opens up endless possibilities for managing and controlling your IoT projects from anywhere in the world. From automating home systems to monitoring environmental data, the applications are vast and varied. In this article, we'll explore the top IoT devices that work seamlessly with Raspberry Pi for remote SSH, ensuring you have all the tools you need to succeed.
Our focus will be on free solutions, making this guide accessible to everyone, regardless of budget constraints. We'll walk you through step-by-step instructions, provide valuable tips, and highlight potential pitfalls to avoid. By the end of this article, you'll have a clear understanding of how to set up and optimize your IoT device for remote SSH on a Raspberry Pi.
Read also:Kannadamovierulz Your Ultimate Guide To Exploring Kannada Cinema
Table of Contents
- Introduction to IoT Devices
- Raspberry Pi Basics
- Why Remote SSH Matters
- Best IoT Devices for Remote SSH
- Setting Up Remote SSH on Raspberry Pi
- Security Best Practices
- Free Tools and Software
- Troubleshooting Common Issues
- Case Studies
- Conclusion
Introduction to IoT Devices
IoT devices have revolutionized the way we interact with technology, enabling seamless connectivity and automation. These devices range from simple sensors to complex systems capable of performing advanced computations. The best IoT device for remote SSH on a Raspberry Pi depends on several factors, including compatibility, performance, and ease of setup.
When choosing an IoT device, consider the following:
- Compatibility with Raspberry Pi
- Power consumption and efficiency
- Connectivity options (Wi-Fi, Bluetooth, etc.)
- Cost and availability
Understanding these factors will help you make an informed decision when selecting the best IoT device for your project.
Raspberry Pi Basics
The Raspberry Pi is a versatile single-board computer that has become a staple in the world of IoT. Its affordability, compact size, and powerful capabilities make it an ideal choice for remote SSH applications. The Raspberry Pi supports a variety of operating systems, including Raspbian, Ubuntu, and more, providing flexibility for developers.
Key features of the Raspberry Pi include:
- Multiple GPIO pins for connecting sensors and actuators
- Built-in Wi-Fi and Bluetooth for wireless connectivity
- Support for external storage via microSD card
- Compatibility with a wide range of IoT devices
Before diving into remote SSH, ensure your Raspberry Pi is properly set up with the necessary software and hardware components.
Read also:Tamilblasters Exploring The World Of Tamil Movie Downloads
Why Remote SSH Matters
Remote SSH (Secure Shell) is a protocol that allows you to securely connect to and manage your Raspberry Pi from a remote location. This is particularly useful for IoT projects where physical access to the device may be limited. By enabling remote SSH, you can:
- Monitor and control your IoT devices in real-time
- Perform software updates and troubleshooting without being physically present
- Access files and data stored on your Raspberry Pi from anywhere in the world
Security is a critical consideration when setting up remote SSH. We'll discuss best practices for securing your connection later in this article.
Best IoT Devices for Remote SSH
Device 1: Raspberry Pi 4
The Raspberry Pi 4 is one of the best IoT devices for remote SSH due to its powerful performance and extensive connectivity options. With 4GB or 8GB of RAM, the Raspberry Pi 4 can handle demanding IoT applications with ease. Its dual-band Wi-Fi and Gigabit Ethernet capabilities ensure reliable connectivity, making it an excellent choice for remote SSH setups.
Key specifications of the Raspberry Pi 4 include:
- 1.5GHz 64-bit quad-core processor
- Up to 8GB of RAM
- Dual-display support
- Built-in USB 3.0 ports
For optimal performance, pair the Raspberry Pi 4 with a high-quality microSD card and a stable power supply.
Device 2: ESP32
The ESP32 is a cost-effective IoT device that offers robust wireless connectivity and low power consumption. While not as powerful as the Raspberry Pi, the ESP32 is an excellent choice for lightweight IoT projects that require remote SSH capabilities. Its dual-core processor and integrated Wi-Fi and Bluetooth modules make it a versatile option for IoT enthusiasts.
Key features of the ESP32 include:
- 240MHz dual-core processor
- Integrated Wi-Fi and Bluetooth
- Low power consumption
- Support for a wide range of sensors and peripherals
When using the ESP32 for remote SSH, consider pairing it with a Raspberry Pi for enhanced processing power and storage capabilities.
Setting Up Remote SSH on Raspberry Pi
Setting up remote SSH on a Raspberry Pi is a straightforward process that involves enabling the SSH service and configuring your network settings. Follow these steps to get started:
- Install the latest version of Raspberry Pi OS on your microSD card.
- Enable SSH by creating an empty file named "ssh" on the boot partition of the microSD card.
- Insert the microSD card into your Raspberry Pi and power it on.
- Connect your Raspberry Pi to your local network via Wi-Fi or Ethernet.
- Use a tool like "Advanced IP Scanner" to find your Raspberry Pi's IP address.
- Open an SSH client (e.g., PuTTY or Terminal) and connect to your Raspberry Pi using its IP address.
For a free and user-friendly SSH client, consider using PuTTY for Windows or the built-in Terminal app on macOS and Linux.
Security Best Practices
Securing your remote SSH connection is essential to protect your IoT devices from unauthorized access. Follow these best practices to enhance the security of your setup:
- Change the default SSH port (22) to a non-standard port.
- Use strong, unique passwords or public key authentication.
- Disable root login to prevent direct access to the system's root account.
- Implement a firewall to restrict access to your Raspberry Pi.
- Regularly update your operating system and software to patch vulnerabilities.
By following these practices, you can significantly reduce the risk of security breaches and ensure the safety of your IoT projects.
Free Tools and Software
There are several free tools and software available that can enhance your IoT experience with remote SSH on a Raspberry Pi. Some popular options include:
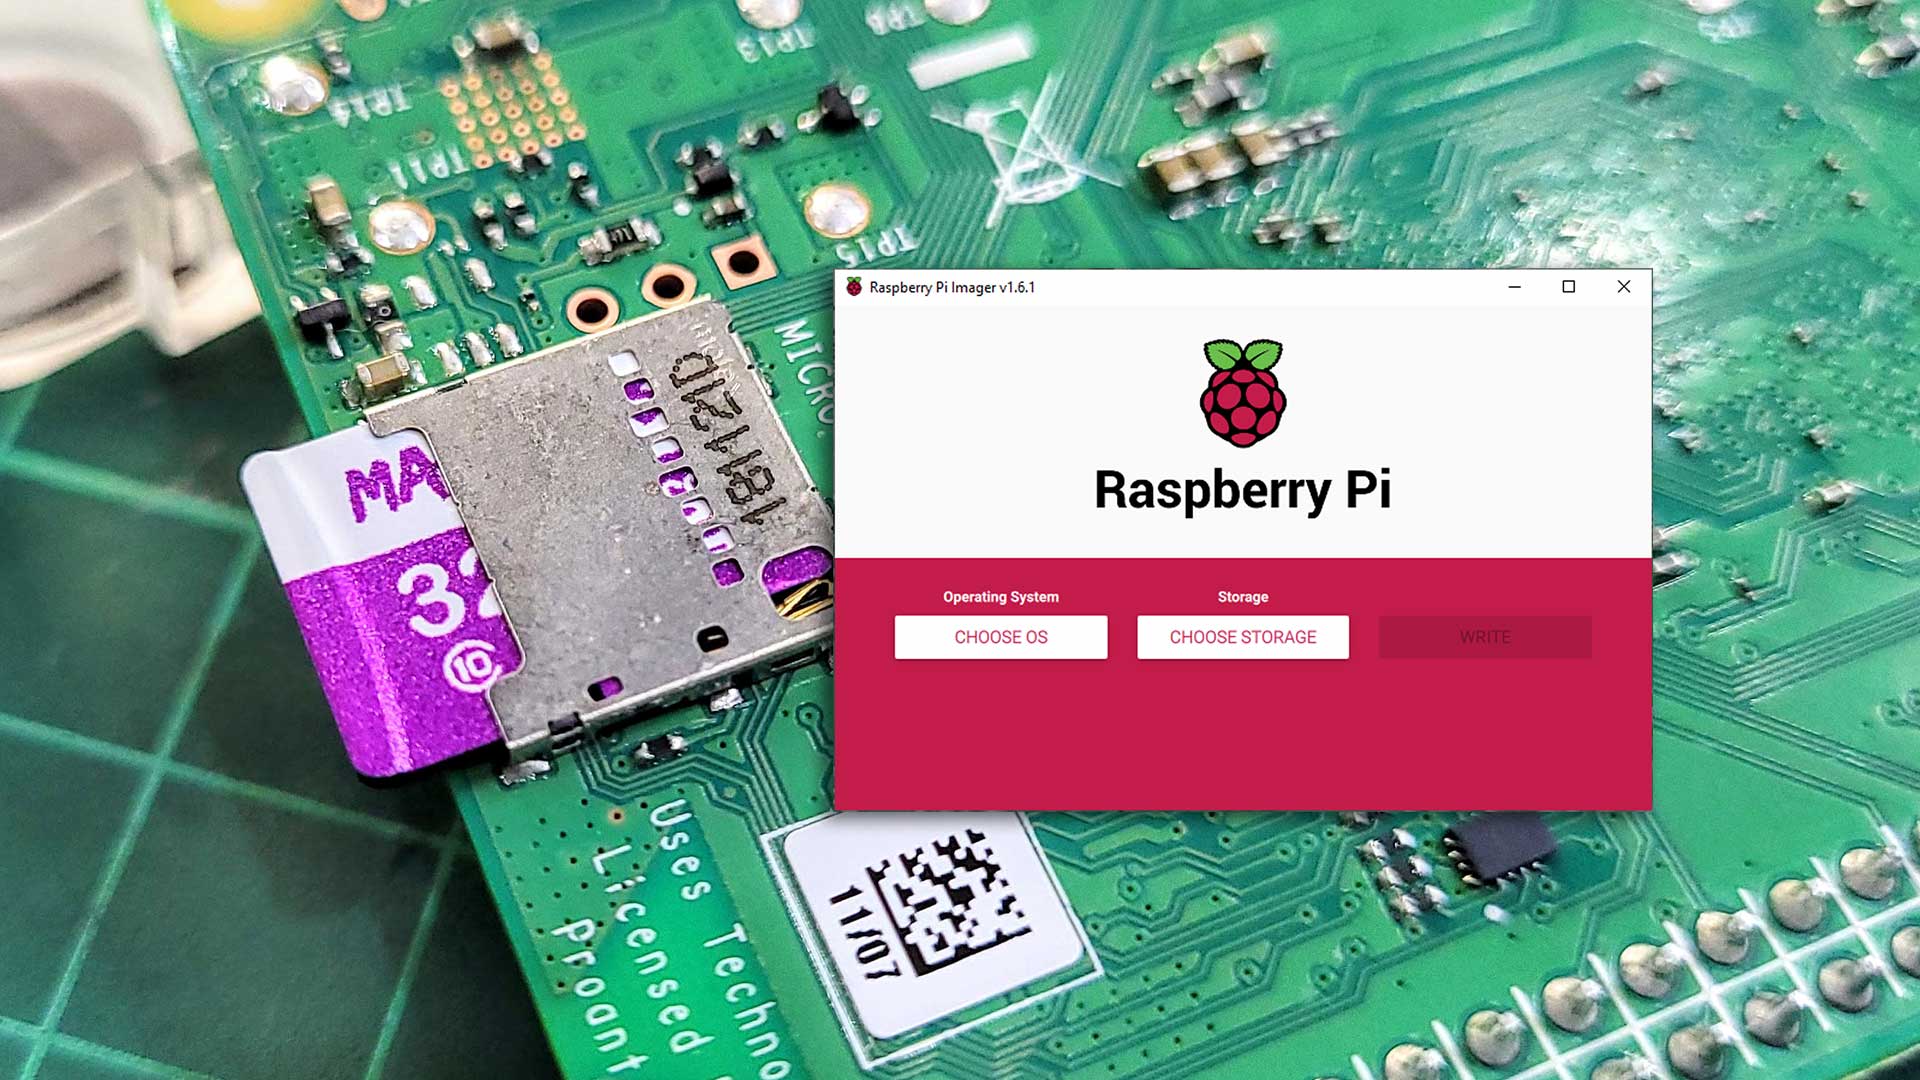
- Raspberry Pi Imager: A free tool for installing Raspberry Pi OS on your microSD card.
- Etcher: An open-source utility for flashing OS images to SD cards and USB drives.
- Putty: A free SSH client for Windows users.
- OpenSSH: A free and open-source SSH server and client for Linux and macOS users.
These tools provide everything you need to set up and manage your IoT devices without incurring additional costs.
Troubleshooting Common Issues
Even with careful planning, issues can arise when setting up remote SSH on a Raspberry Pi. Here are some common problems and their solutions:
- Unable to connect via SSH: Ensure SSH is enabled and your Raspberry Pi is connected to the network. Verify the IP address and check for firewall restrictions.
- Slow connection speed: Optimize your network settings and consider using a wired connection instead of Wi-Fi for better performance.
- Authentication failures: Double-check your login credentials and ensure public key authentication is correctly configured if used.
Refer to the official Raspberry Pi documentation for more troubleshooting tips and solutions.
Case Studies
To illustrate the practical applications of remote SSH on a Raspberry Pi, let's explore a few real-world case studies:
Case Study 1: Home Automation System
A homeowner used a Raspberry Pi and ESP32 to create a smart home automation system. By enabling remote SSH, they could control lighting, temperature, and security systems from anywhere in the world.
Case Study 2: Environmental Monitoring
A research team deployed a network of IoT sensors connected to a Raspberry Pi for remote SSH access. This setup allowed them to monitor environmental conditions in real-time and collect valuable data for analysis.
These examples demonstrate the versatility and potential of IoT devices with remote SSH capabilities.
Conclusion
In conclusion, the best IoT device for remote SSH on a Raspberry Pi depends on your specific needs and requirements. Whether you choose the powerful Raspberry Pi 4 or the cost-effective ESP32, both offer excellent options for managing your IoT projects remotely. By following the steps outlined in this guide, you can set up a secure and efficient remote SSH connection, ensuring seamless control of your devices.
We encourage you to share your experiences and insights in the comments section below. Your feedback helps us improve and provides valuable information for other readers. Additionally, explore our other articles for more tips and tutorials on IoT and Raspberry Pi projects.