Remote access to your Raspberry Pi from your Mac, even when it's behind a NAT router, is an essential skill for any tech enthusiast. Whether you're managing servers, automating tasks, or simply controlling your home devices, SSH (Secure Shell) provides secure and efficient connectivity. In this comprehensive guide, we'll walk you through setting up remote SSH access without spending a dime.
Remote SSH into Raspberry Pi behind a NAT router on Mac has become increasingly popular as more people use Raspberry Pi for personal projects, automation, and remote management. However, many users struggle with the complexities of NAT traversal and configuring their network settings correctly. This guide simplifies the process and ensures you can access your Raspberry Pi securely.
By the end of this article, you'll have a clear understanding of how to configure SSH on your Raspberry Pi, set up port forwarding, and use tools like ngrok or localtunnel to bypass NAT restrictions. Let's dive in and master this crucial skill!
Read also:How To Safely Use Filmyfly Fan Download For Movie Enthusiasts
Table of Contents
- Introduction to Remote SSH
- Understanding SSH Basics
- Setting Up Your Raspberry Pi
- Configuring Your Mac
- What is NAT and Why It Matters
- Setting Up Port Forwarding
- Using Tools to Bypass NAT
- Security Best Practices
- Troubleshooting Common Issues
- Conclusion and Next Steps
Introduction to Remote SSH
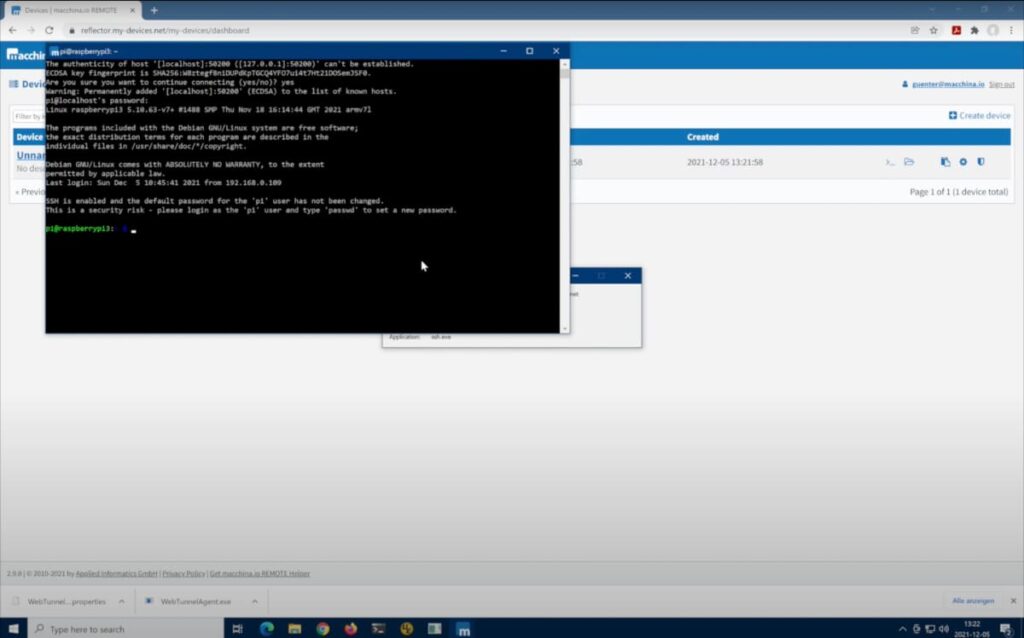
SSH, or Secure Shell, is a cryptographic network protocol that enables secure communication between devices over an unsecured network. Remote SSH into Raspberry Pi behind a NAT router on Mac allows you to control your Raspberry Pi from anywhere in the world without compromising security. This section explains the importance of SSH and why it's a preferred method for remote access.
Why Use SSH?
SSH offers several advantages, including:
- Encryption of all data transmitted between devices
- Authentication mechanisms to ensure only authorized users can access your Raspberry Pi
- Compatibility with most operating systems, including macOS
Benefits of Free Remote Access
Many services offer paid solutions for remote access, but with the right setup, you can achieve the same results for free. This guide focuses on free tools and methods to ensure your Raspberry Pi remains accessible without unnecessary expenses.
Understanding SSH Basics
Before diving into the technical aspects of remote SSH into Raspberry Pi behind a NAT router on Mac, it's essential to understand the basics of SSH. This section covers the fundamental concepts and terminology you'll encounter throughout the guide.
Key SSH Terminology
- Client: The device you're using to connect to your Raspberry Pi (in this case, your Mac).
- Server: The Raspberry Pi, which acts as the remote server.
- Port: The default SSH port is 22, but you can change it for added security.
How SSH Works
SSH establishes a secure connection by encrypting all data exchanged between the client and server. It uses public-key cryptography to authenticate users and ensure secure communication. Understanding these basics will help you troubleshoot and optimize your setup.
Setting Up Your Raspberry Pi
To enable remote SSH into Raspberry Pi behind a NAT router on Mac, you must first configure your Raspberry Pi. This section walks you through the necessary steps to prepare your Raspberry Pi for remote access.
Read also:Remoteiot Batch Job Example On Aws A Comprehensive Guide
Enabling SSH on Raspberry Pi
SSH is disabled by default on Raspberry Pi OS. To enable it:
- Power on your Raspberry Pi and connect it to your local network.
- Open the terminal and type
sudo raspi-config. - Use the arrow keys to navigate to "Interfacing Options" and select "SSH".
- Choose "Yes" to enable SSH and reboot your Raspberry Pi.
Checking Your Raspberry Pi's IP Address
Knowing your Raspberry Pi's local IP address is crucial for setting up remote access. Use the following command in the terminal:
ifconfig
Look for the "inet" address under the "wlan0" or "eth0" section, depending on whether you're using Wi-Fi or Ethernet.
Configuring Your Mac
Once your Raspberry Pi is ready, you need to configure your Mac to connect to it. This section explains how to set up your Mac for remote SSH access.
Installing an SSH Client
macOS comes with a built-in SSH client, so there's no need to install additional software. Open the Terminal app on your Mac and test the connection using the following command:
ssh pi@your-raspberry-pi-ip-address
Replace "your-raspberry-pi-ip-address" with the actual IP address of your Raspberry Pi. You'll be prompted to enter the password for the "pi" user.
Generating SSH Keys
To enhance security, consider using SSH keys instead of passwords. Generate a key pair by running:
ssh-keygen -t rsa -b 4096
Copy the public key to your Raspberry Pi using:
ssh-copy-id pi@your-raspberry-pi-ip-address
What is NAT and Why It Matters
NAT (Network Address Translation) is a method used by routers to allow multiple devices to share a single public IP address. While NAT enhances network security, it can complicate remote access to devices like your Raspberry Pi. Understanding NAT is crucial for setting up remote SSH into Raspberry Pi behind a NAT router on Mac.
Types of NAT
- Full Cone NAT: Allows all external hosts to send packets to internal hosts.
- Restricted Cone NAT: Only allows external hosts to send packets if the internal host has previously sent packets to the external host.
- Port-Restricted Cone NAT: Similar to restricted cone NAT, but also requires the external host to use the same port.
- Symmetric NAT: Maps each connection to a unique external IP address and port, making it the most restrictive.
Setting Up Port Forwarding
Port forwarding allows you to map a specific port on your router to a device on your local network. This section explains how to configure port forwarding for remote SSH into Raspberry Pi behind a NAT router on Mac.
Accessing Your Router's Settings
Log in to your router's admin interface using its IP address (usually 192.168.0.1 or 192.168.1.1). Refer to your router's documentation for the default username and password.
Configuring Port Forwarding
Set up port forwarding by:
- Navigating to the "Port Forwarding" or "NAT" section in your router's settings.
- Adding a new rule with the following details:
- Service Name: SSH
- External Port: 22
- Internal IP Address: Your Raspberry Pi's local IP address
- Internal Port: 22
Using Tools to Bypass NAT
If your router doesn't support port forwarding or you're dealing with a restrictive NAT type, you can use tools like ngrok or localtunnel to bypass NAT restrictions. This section explores these tools and how to use them for remote SSH into Raspberry Pi behind a NAT router on Mac.
ngrok
ngrok is a popular tool that creates secure tunnels to your local server. Install ngrok by downloading it from the official website and running:
./ngrok tcp 22
This command generates a public URL you can use to access your Raspberry Pi remotely.
localtunnel
localtunnel is another tool that provides similar functionality. Install it using npm:
npm install -g localtunnel
Then, run:
lt --port 22
This will give you a public URL for remote access.
Security Best Practices
Securing your remote SSH connection is vital to protect your Raspberry Pi and sensitive data. Follow these best practices to enhance security:
Change the Default SSH Port
Changing the default SSH port from 22 to a higher number reduces the risk of automated attacks. Edit the SSH configuration file:
sudo nano /etc/ssh/sshd_config
Set the "Port" value to your desired number and restart the SSH service:
sudo service ssh restart
Disable Password Authentication
Disable password-based authentication and rely solely on SSH keys by modifying the sshd_config file:
- Set "PasswordAuthentication" to "no".
- Restart the SSH service.
Troubleshooting Common Issues
Even with careful setup, you may encounter issues when trying to remote SSH into Raspberry Pi behind a NAT router on Mac. This section addresses common problems and their solutions.
Connection Refused
If you receive a "Connection refused" error, ensure:
- Your Raspberry Pi's SSH service is running.
- Port forwarding is correctly configured on your router.
- Your firewall isn't blocking the SSH port.
Timeout Errors
Timeout errors often indicate network connectivity issues. Verify:
- Your Raspberry Pi's IP address hasn't changed.
- Your router's public IP address is accessible from outside your network.
Conclusion and Next Steps
Remote SSH into Raspberry Pi behind a NAT router on Mac is a powerful skill that opens up endless possibilities for remote management and automation. By following the steps outlined in this guide, you can configure your Raspberry Pi for secure and reliable remote access without incurring any costs.
We encourage you to share your experiences and ask questions in the comments below. For further reading, explore advanced SSH configurations, such as setting up dynamic DNS or using SSH tunnels for additional security. Thank you for reading, and happy tinkering!